The Installation Process
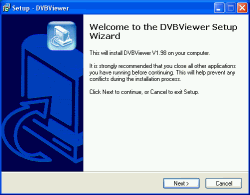
Figure 1
Start the installation by double-clicking setup.exe. You will be led step-by-step through the process. Now click on next.
For altering your input you can go back by clicking the back button. To abort the installation simply click on cancel.
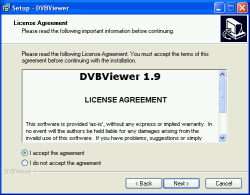
Figure 2
At first you must accept the license agreement by selecting I accept the agreement after you thoroughly studied it. The DVBViewer's author
won't be liable for any damage caused by the program, especially in case of inappropriate or illegal use.
Now click the next button.
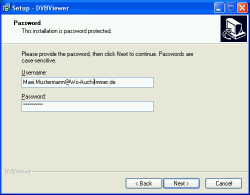
Figure 3
Now input your username (usually your e-mail-address) and the password you received by e-mail. Both username and password are case-sensitive. Finish with clicking on next.
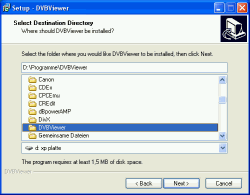
Figure 4
Now you must select a directory for installation of the DVBViewer. Generally this should be \program files\DVBViewer. Proceed by clicking next.
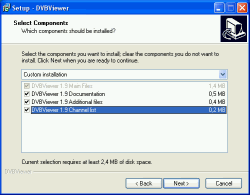
Figure 5
The next screen allows to select which components are to be installed.
You are also informed about the space necessary for installation.
- Main files are always installed, since those are imperative.
- Documentation refers to this manual (only the english version at the time).
- Additional files refer to the language files for different GUI languages and other supplements.
- Channel list speaks for itself. When updating, this one should not be marked !
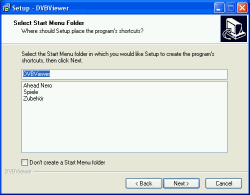
Figure 6
Now you can choose to create an entry for the start-menu with a new folder named DVBViewer, although you can also set any existing entry. If you
don't need an entry just uncheck the box down below.
Proceed by clicking next.
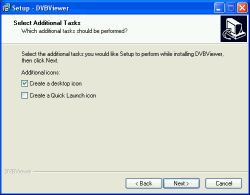
Figure 7
This screen allows to create a desktop or quick launch bar icon.
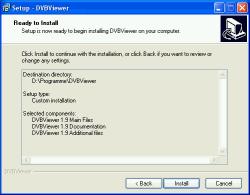
Figure 8
At last all chosen features will be listed. Finish the installation by clicking install.
Figure 9
After the successful installation you can view the documentation and/or start the DVBViewer. Finish the installation by clicking finish.
If you encounter an error message starting the DVBViewer or you don't have either video or audio, proceed to chapter 8.
|

 1. Introduction